
 |
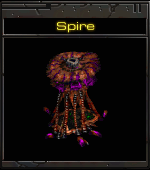
The SpireThe Spire enables the morphing of Mutalisk and Scourge, winged horrors that roost in this towering structure. Here air attacks and defenses can be upgraded. Like the Hydralisk Den, this building should be well protected. |
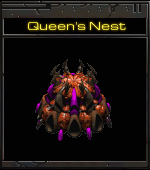 |
Queens NestThe Queens Nest is an essential building due to the fact that the Queens "spells" can be researched there and that it is needed to build a Hive. Some people like to get this BEFORE the Spire... |
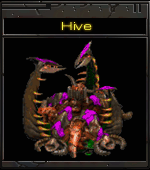 |
The HiveThe Hive is a mutated Lair that allows the construction of higher level buildings, such as the Greater Spire and the Ultralisk Cavern. Protect this with all of the fury of the Swarm... |
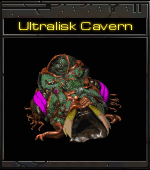 |
Ultralisk CavernThe Ultralisk Cavern allows the mutation of Ultralisks, one of the most feared ground units in the game. Here they can also be upgraded for more speed and a better armor level. Not essential, but certainly important to any Zerg commander. |
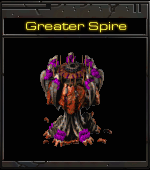 |
Greater SpireThe Greater Spire is a mutation of the Spire that allows the production of Guardians and Devourers from existing mutalisks and those soon to be created. Again, not essential, but I couldn't win an island map without them. |
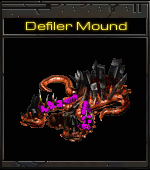 |
Defiler MoundThe Defiler Mound is home of the other "spell" casters in the Swarm, allowing evolution and production of Defilers. Not essential, but certainly important once constructed. |
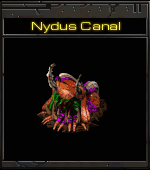 |
Nydus CanalNydus Canals serve as instant transports from one to the other and vice-versa. They are essential in the late game of large maps, allowing the same group of ground units to defend multiple bases in an instant. |
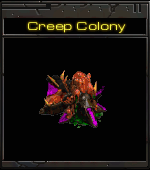 |
Creep ColonyCreep Colonies are simple structures available in the early-late game that extend the creep around the area where they are built. They can later morph into Spore Colonies or Sunken Colonies. |
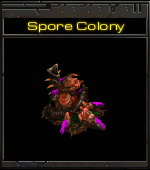 |
Spore ColonySpore Colonies are ground-to-air structures that morph from Creep colonies. You must have an Evolution Chamber to build these important structures. They are ideal for holding off small groups of wraiths and similar air units. They also serve as stationary detectors. |
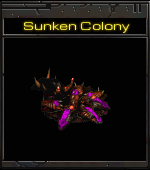 |
Sunken ColonySunken Colonies are ground-to-ground structures that, like the forementioned Spore Colony, morph from Creep Colonies. They are perfect defensive structures in the early-mid game for holding off groups of marines, zealots and zerglings. |